


Hosting is expiring and some serious panicking needs to take place! I had very basic hosting for my personal website and I was not satisfied with it. Once you realize you're not satisfied with your hosting, you think you're going to do proper research before it expires and switch on time, but next thing you find yourself a year later waking up on a renewal notification from your hosting service.
I created a poll a while ago, which helped me collect lots of valuable feedback and I decided to take a chance on DigitalOcean and see if it has what I am looking for.
I signed up using a referral link and got $100 worth of credit, but the catch is, it is valid for only 60 days. If you want to do the same here is my referral link. If you use it, you will get $100 valid for 60 days and once you spend $25, I will also get $25 worth of credit.
Droplets
DigitalOcean speaks in droplets. That's the environment unit used. We have to create a project first and assign our droplet to it. A project can have multiple droplets. While creating a droplet, we have many options to choose from, but I am going to go over what I thought worth highlighting in the pre-creation and post-creation of the droplet.
Pre-Creation
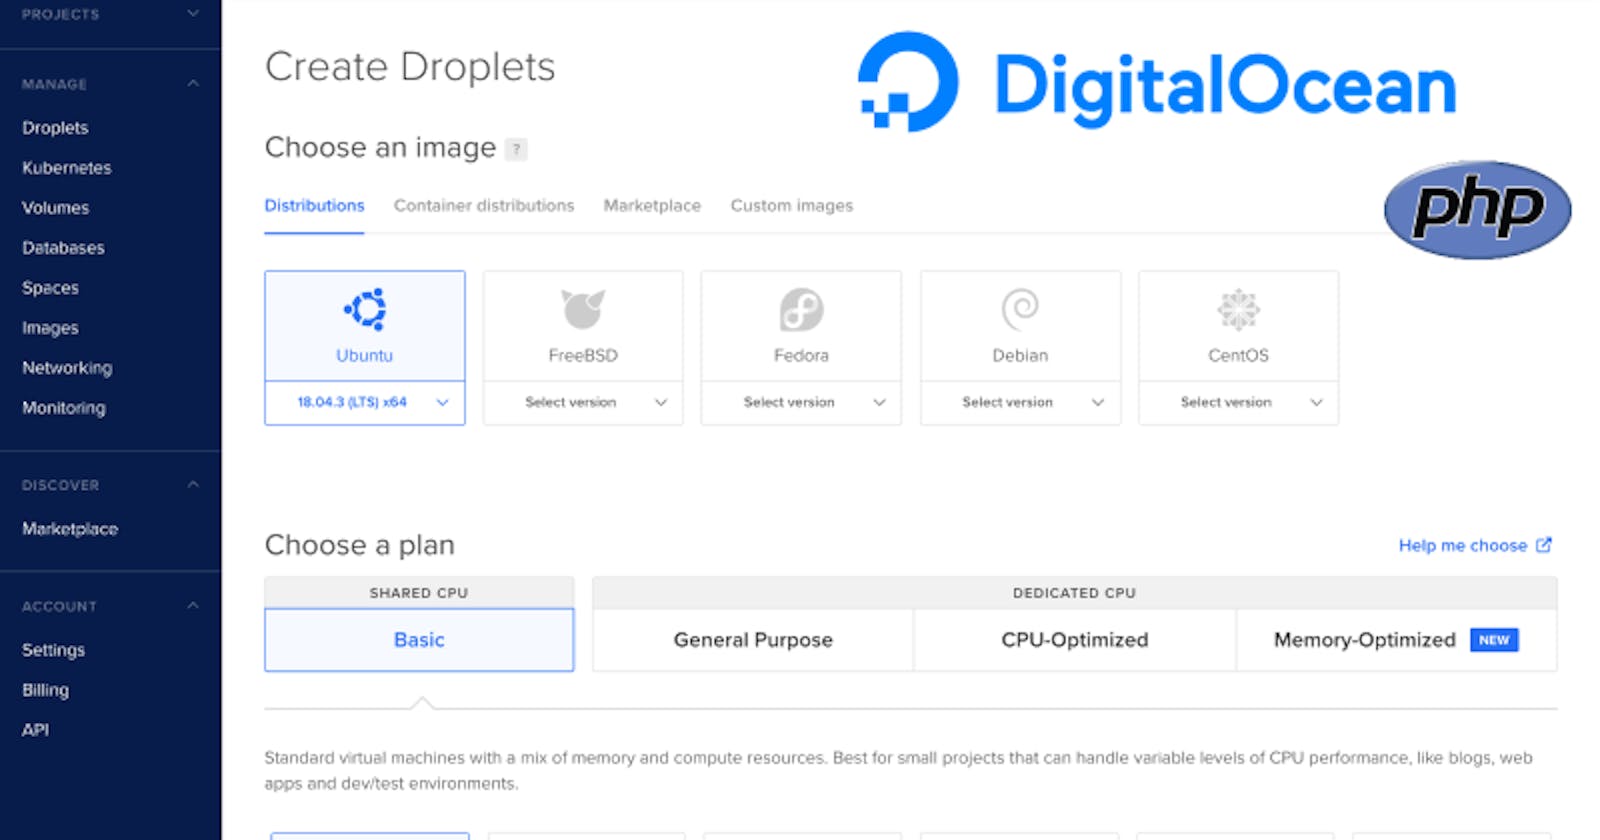
Choosing an image
We can choose one of the provided OS images and its version as the base to build upon for our droplet. Ubuntu is available, so that's a relief! We can also add our own custom image, which is something I will not be doing in the near future.
What I am excited about the most are the Marketplace Apps. They are 1-Click apps preconfigured for certain frameworks or platforms and as the name suggests, require only one click to be up and running on our droplet. I gave the MarketPlace a quick look and it seems to have sufficient apps for the most famous stacks and frameworks. I found apps for LAMP, NodeJS, WordPress, Django, Docker and more. Yes! Make my life easier, Marketplace!
Pricing
I found a wide range of droplet prices that varies from $5 to $960 per month with different sizes and transfer limits. A $5 droplet is what I will be using, it has 1 GB/1 CPU, 25 GB SSD and 1000 GB Transfer and that's more than enough for what I need at the moment. We can also enable automatic backups for our droplets. Backups cost 20% of the droplet price, so for the $5 droplet, we get to pay an extra 1$ per month.
Authentication
We can log onto our droplet using either an SSH key or username and password, which we can set for the root user while creating our droplet and changed any time after our droplet is up and running.
After choosing the most suitable options for our droplet, we can hit Create Droplet and wait for the magic to happen. So let's see the most important features that will allow us to manipulate our droplet!
Post-Creation
Access
Once we have our droplet created with its unique IP, we can click it and view all the ways we can customize it. Of course, we can access our droplet from any terminal using SSH, but through the access tab in our droplet, we can launch a console right in our browser and access it from there, as well and I believe that makes life easier if you have different devices with different OS.
Power
We can shut down our droplet and turn it back on any time, but just note that you will still be billed for your droplet all the time it is shut down. If you don't want to be billed for your droplet, you have to destroy it and this is irreversible.
Resize
As mentioned before, there are various droplets with different prices and sizes. Any time your consumption increases or decreases, you don't have to create a new droplet you can resize yours easily.
Destroy
Besides destroying your droplet, you can use this tab to rebuild your existing droplet with a different image in case you changed your mind about the one you already chose.
We know enough by now, so let's see what our droplet is capable of!
Creating a PHP Environment
The Easy Way
I like my life easy and that's what the MarketPlace tab is for. Since we are speaking PHP, a LAMP or a LEMP app are the first that come to mind, so I went for LEMP as my image, selected the rest of the droplet options and I was up and running in less than a minute.
The droplet appeared with its unique IP in my project and I could access it just by clicking it.
The instructions provided by the LEMP app were pretty clear and if you follow them exactly, you'll get to safe land.
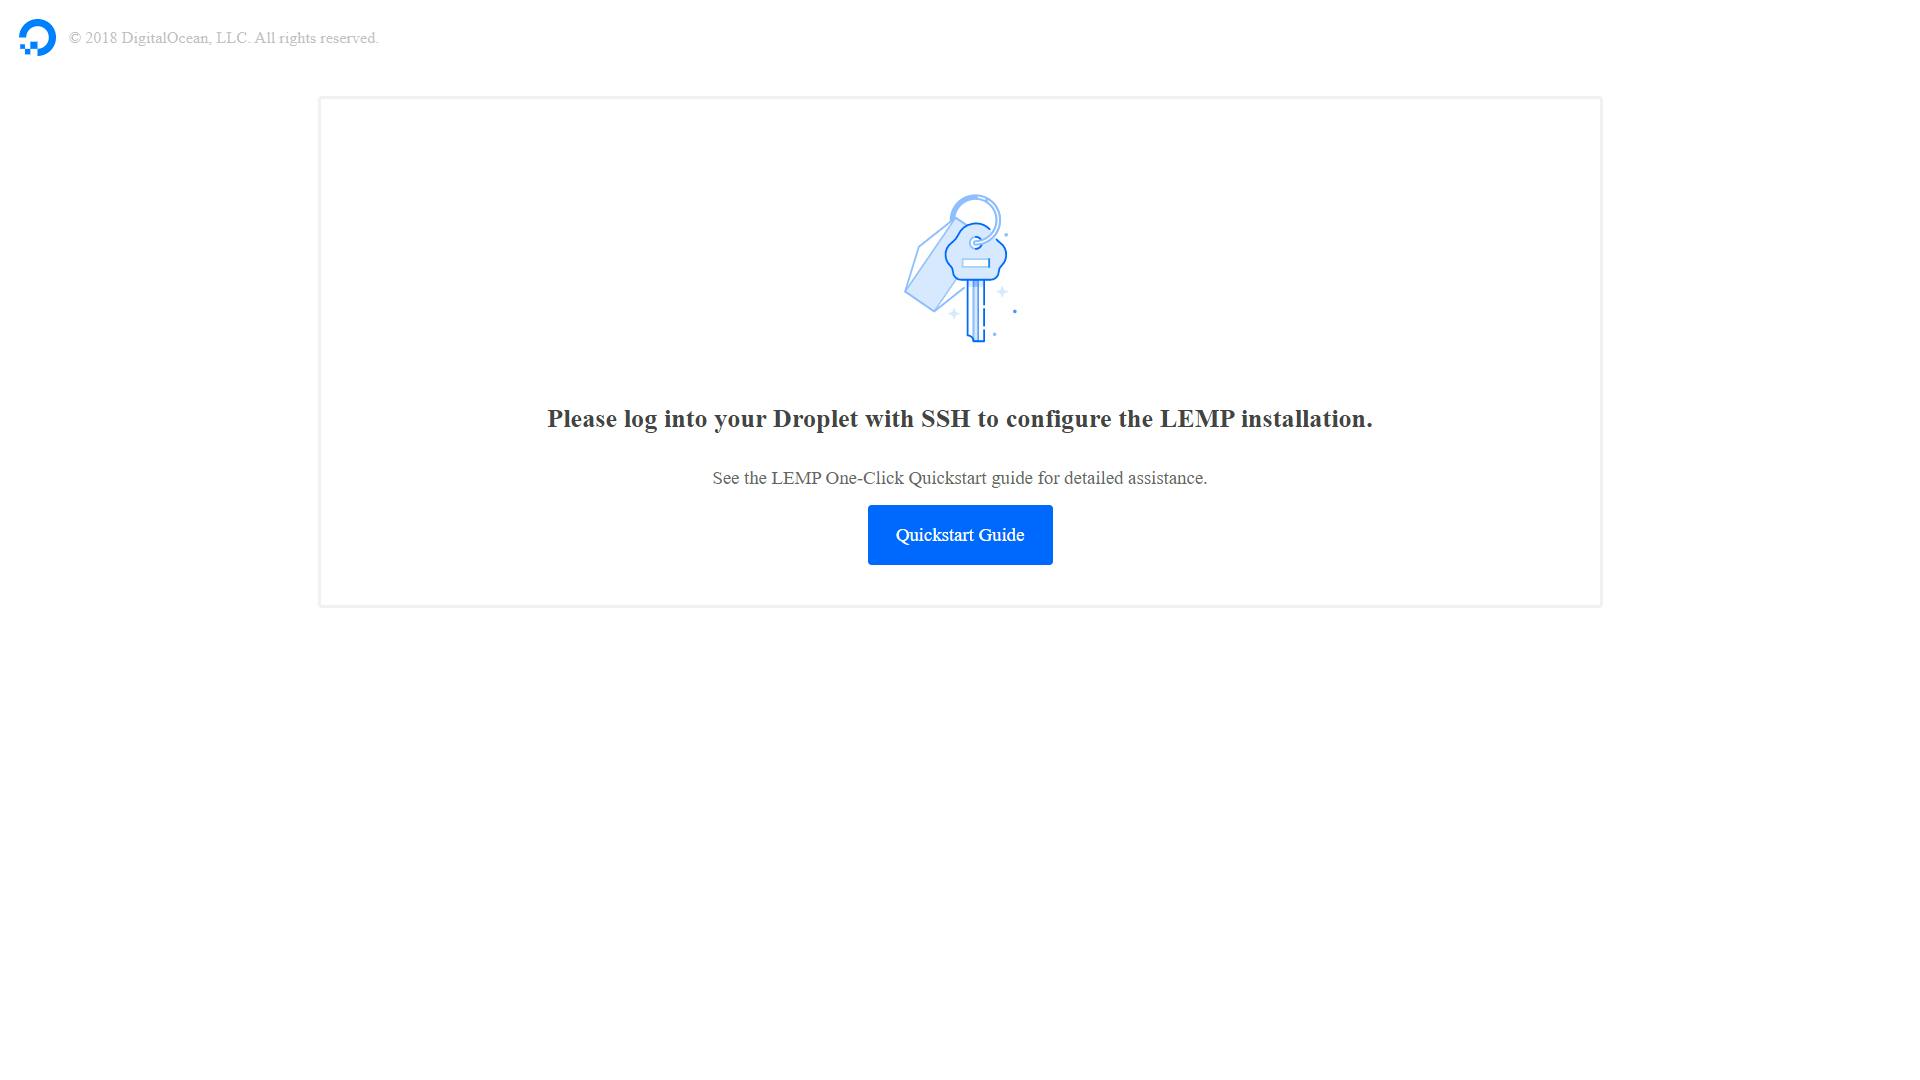
The only unclear thing was the landing page. After you're done and you open your droplet IP in the browser, the landing page states that you should login using SSH to configure the LEMP installation and that gives mixed signals because it is already activated and up and running. It turns out, it is just a static page set as a sample and you can easily edit or replace it in your droplet web root.
The Hard Way
We mentioned that among the available images is Ubuntu, so to create a PHP environment, you can choose the version most suitable to you and then start installing and customizing your own LAMP/LEMP environment step by step like you would on any Linux machine.
The Docker Way
I am no Docker expert, but If you are a Docker person, there is a 1-Click app for it in the MarketPlace, so after following the installation steps, you can pull your image of choice and be good to go!
Great! Now, we have a good idea on what a droplet is, how to create it and how to use it to be an environment ready for PHP! All we need to do is, add our files and map a domain to our droplet to be officially live, but that's another story!
Reach out to me here or on Twitter, if you have better ideas or recommendations for using droplets. A good conversation is always welcome. Stay online!